Light Feet Blog

Trip Shakedown Series: Four Days in California’...
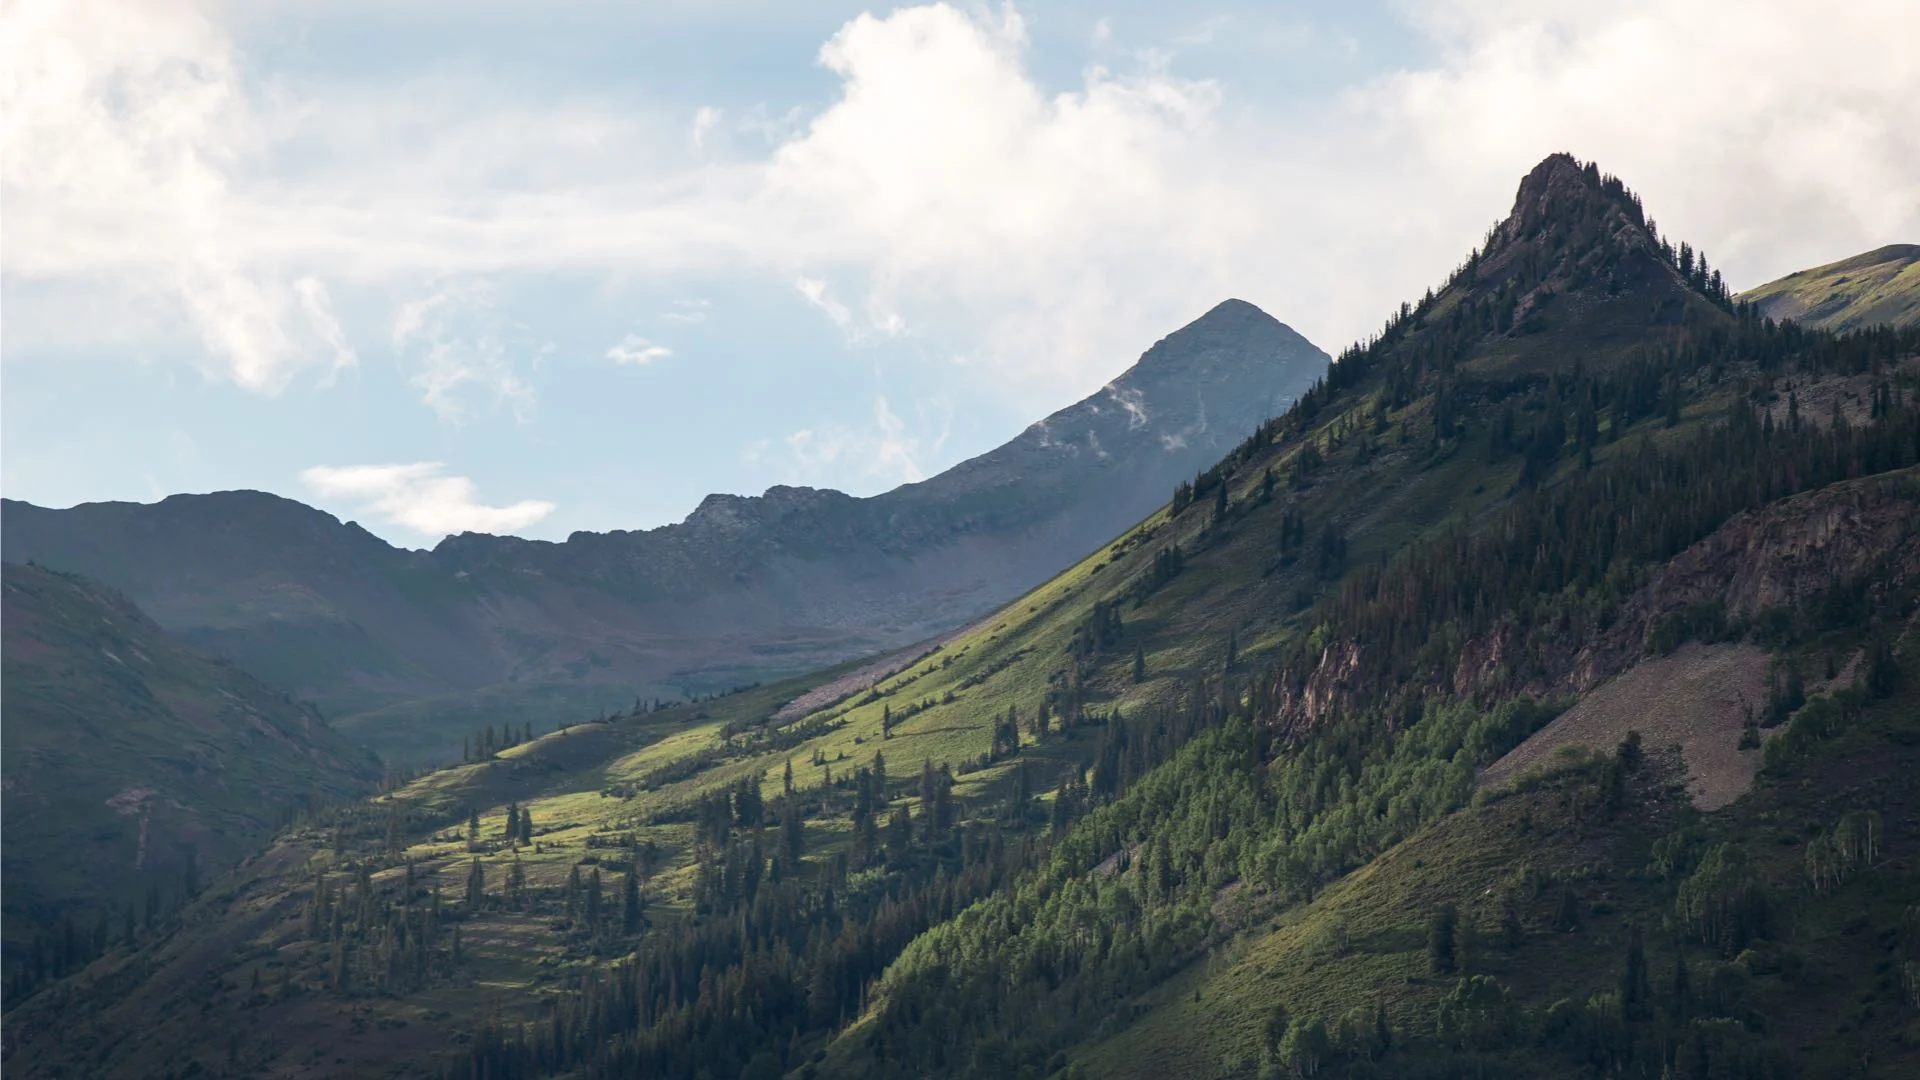
Your inspiration guide to type 2 fun in the rugged and beautiful northern California wilderness.
Trip Shakedown Series: Four Days in California’...
Your inspiration guide to type 2 fun in the rugged and beautiful northern California wilderness.

What Is Type 2 Fun? 6 Reasons to Seek It Out
Get inspired to embrace the journey just beyond your comfort zone with the joy of Type 2 fun on and off trail.
What Is Type 2 Fun? 6 Reasons to Seek It Out
Get inspired to embrace the journey just beyond your comfort zone with the joy of Type 2 fun on and off trail.

11 Tips to Reduce Your Backpacking Pack Weight
Ultralight backpacking strategies are all about learning to take less so you can do more.
11 Tips to Reduce Your Backpacking Pack Weight
Ultralight backpacking strategies are all about learning to take less so you can do more.

Backpacking Base Weight Series: Emily “Squishy”...
Brand Ambassador Emily “Squishy” Schrick shares how she actually takes less to do more.
Backpacking Base Weight Series: Emily “Squishy”...
Brand Ambassador Emily “Squishy” Schrick shares how she actually takes less to do more.

Gossamer Gear’s Best Hiking Trails for Every Mo...
If your New Year's resolution was to do more hiking this year, our staff has you covered with the best trail recommendations.
Gossamer Gear’s Best Hiking Trails for Every Mo...
If your New Year's resolution was to do more hiking this year, our staff has you covered with the best trail recommendations.

2024’s Best of the World-Renowned Light Feet Blog
Meet the top 15 articles from 2024 about all things lightweight backpacking and outdoor adventure.
2024’s Best of the World-Renowned Light Feet Blog
Meet the top 15 articles from 2024 about all things lightweight backpacking and outdoor adventure.